Vented Soffit (Double 6-Inch V-Groove)
Vented Soffit (Double 6-Inch V-Groove)
Couldn't load pickup availability

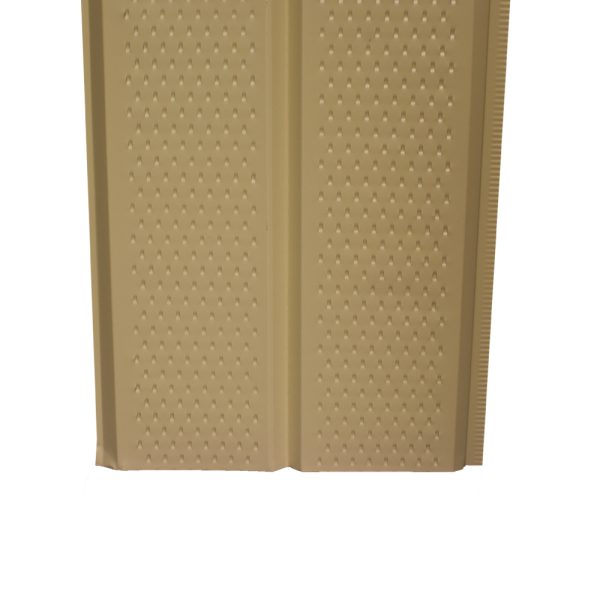
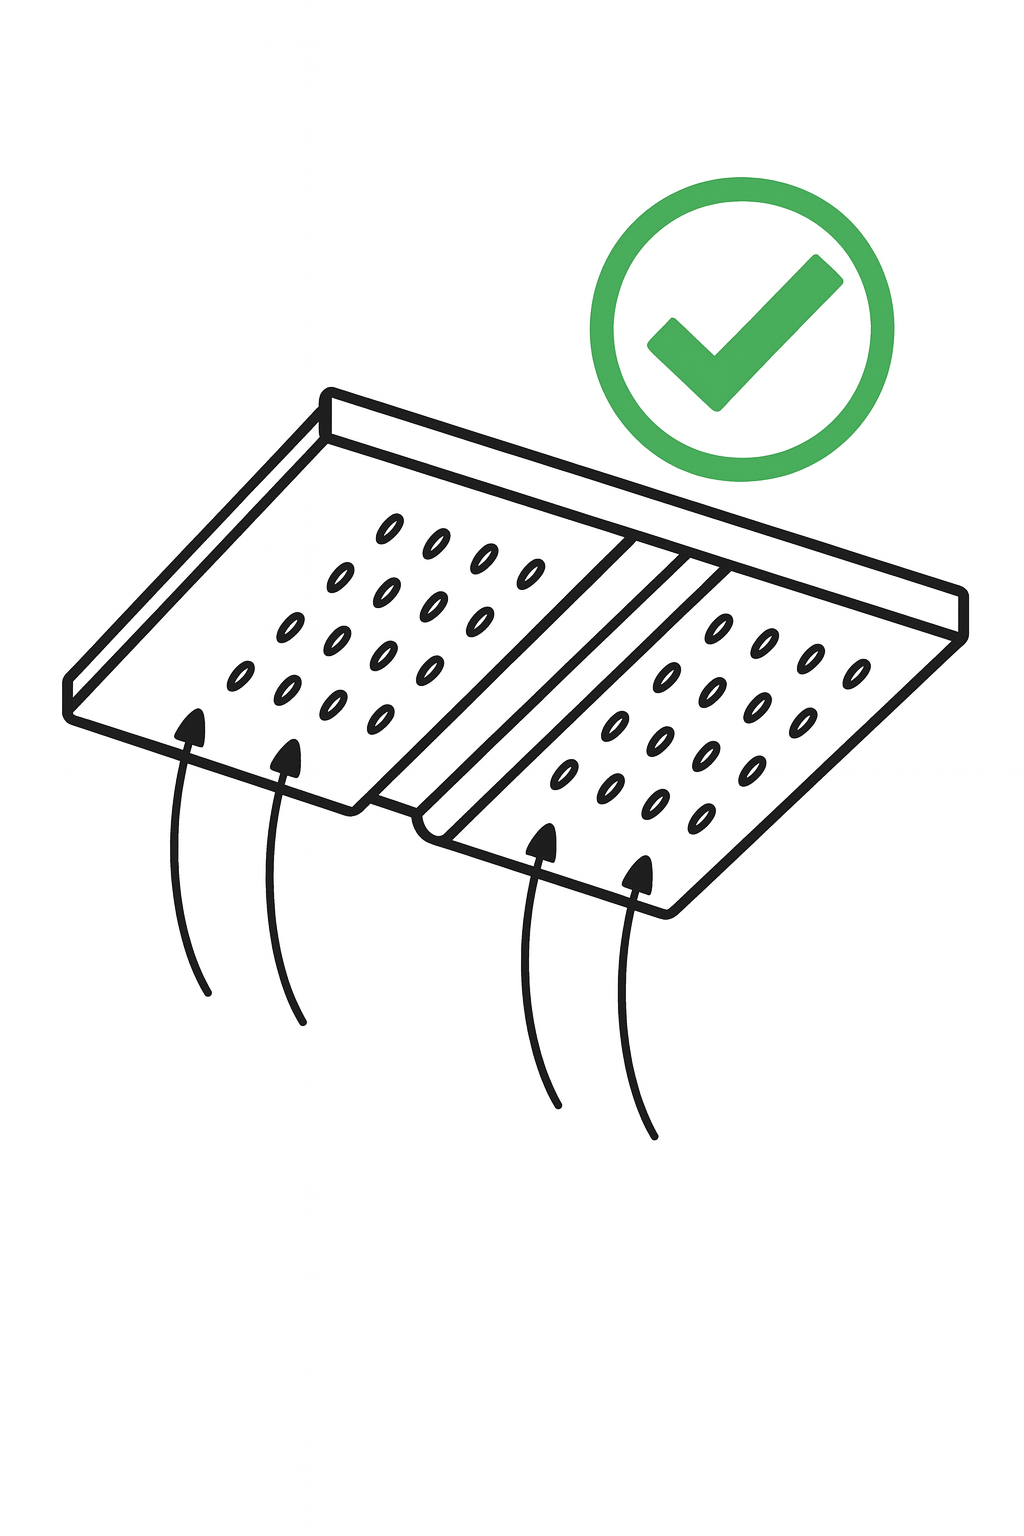
Enhance curb appeal while protecting against moisture and heat buildup. Our Vented Aluminum Soffit — Double 6-Inch V-Groove — delivers continuous intake ventilation at the eaves to help balance your roof system when paired with a ridge vent. The baked-finish aluminum won’t warp like vinyl and never needs painting, standing up to weather, pests, and time. Available in standard lengths or cut to order, and in a full palette of color-matched options to pair with your gutters and trim.
Vented Soffit (Double 6-Inch V-Groove) Key Features
-
Built-in intake
Continuous micro-perforations provide attic intake airflow when paired with a ridge vent
-
Clean plank look
Double 6" V-Groove face delivers a traditional, woodlike appearance without wood upkeep
-
Rigid aluminum
0.019" Aluminum resists sagging, warping, and heat distortion in sun-exposed eaves
-
Hidden fasteners
Seats into F- and J-Channel for straight, uniform lines with concealed fastening
-
Balanced system ready
Designed to support balanced roof ventilation strategies per code and best practice
-
Color matched
Coordinates with Gutters, Fascia wrap, and Trims for a unified exterior
-
Installer friendly
Light to handle, cuts cleanly, and fits common 16 in to 24 in framing on center
-
Low maintenance
Baked-on finish sheds dirt; perforations resist clogging when kept clear of paint and sealants
Vented Soffit (Double 6-Inch V-Groove) Material & Specifications
Material: Painted aluminum alloy 3105
Profile: Vented Soffit Panel, Double 6 inch V-groove (two 6 inch faces with center V)
Face Coverage: 12 inch nominal (D6)
Gauge / Thickness: 0.019 in standard
Perforations: Continuous vent perforations along the panel face for intake airflow
Finish / Colors: Baked-on enamel; color set coordinated with Gutters/Fascia
Panel Length: 12 ft standard and custom lengths available upon request; sold in boxes of 10 pc each (120 linear feet)
Recommended Applications: Eaves/overhangs and porch ceilings where attic intake ventilation is required
Accessories / Trim: F-Channel, J-Channel/utility trim, inside/outside corners; site-formed splice backer from Trim Coil; site-formed L-angle corner receiver; Aluminum Trim Nails or #8 Zinc Hex Screws
Compatibility: Installs with standard carpentry tools; typical framing 16–24 inches on center
Code Notes: Select vented panels with suitable NFVA rating and install to meet local code; pair with exhaust (ridge vent) for balance
Installation & Maintenance Tips
This installation information is a general guide only and may not address your specific site conditions. Always follow local building codes, safety practices, and professional methods. If you are not experienced with this type of work, hire a qualified contractor.
Installation
- Plan ventilation: Confirm attic exhaust (ridge vent or equivalent) and required intake. Choose vented panels with adequate NFVA to meet code for the roof area.
- Measure depth: Measure wall-to-fascia at multiple points; use the largest number and subtract 1/4 in for thermal clearance inside channels.
- Prep framing: Verify straight nailers at 16–24 in o.c. Add intermediate nailers for porch ceilings or spans over 24 in. Install insulation baffles at each bay so intake air is not blocked.
- Install receiving channels: Level F-Channel at the wall and J/utility trim at the Fascia; fasten 12–16 in o.c. Channels must be co-planar so panels sit flat.
- Cut panels: Use snips, guillotine, or a fine-tooth blade. Deburr cut ends. Keep V-grooves and perforation rows square to the channels.
- Set the first panel: Insert the wall edge fully into the wall channel, bow slightly, and seat the fascia edge into the Fascia channel. Do not overdrive any concealed fasteners you may add.
- Continue the run: Keep grooves aligned and perforations in a straight line. Maintain 1/8–1/4 in movement gaps at terminations. Do not paint, caulk, or tape over perforations.
- Long runs without H-Channel: Create a concealed splice. Brake a 4–6 in wide aluminum backer from trim coil; fasten to framing; butt panel ends with a 1/8 in gap centered over the backer. If needed, add one hidden pan-head screw near the hem to keep flush (no face-fastening).
- Corners without H-Channel: Miter panels at 45 degrees and seat into opposing J-Channels; snip back about 3/8 in of hems to prevent bind and leave a small hidden movement gap. Or brake-form a 3/4 in x 3/4 in L-angle corner receiver from trim coil, fasten to framing, and butt each run to it.
- Final check: Sight along the eave for straight reveals. Confirm channels bite, fasteners are snug (not crushed), perforations are unobstructed, and intake baffles are in place. Water-test the eave line if needed.
Maintenance
- Keep vents clear: Do not paint or seal over perforations. Brush or gently hose off dust and pollen as needed.
- Fastener check: Annually inspect for loose or corroded fasteners; replace with aluminum or stainless and do not overdrive.
- Air path check: Verify insulation baffles remain open at each bay; clear any nests or obstructions at eaves.
- Adjacent systems: Inspect Fascia wraps, Gutters, and ridge vent; correct issues that could block intake or trap water.

Compare Styles & Materials
Vented Aluminum Soffit vs Alternatives
Vented Soffit vs Solid Soffit
- Vented: Provides Soffit-line intake airflow to balance attic ventilation; ideal when paired with a ridge vent and required by code.
- Solid: Suited for porch ceilings, decorative returns, or eave sections where intake is provided elsewhere or is not required.
Aluminum Vented Soffit vs Vinyl Vented Soffit
- Aluminum: Higher heat tolerance and rigidity; better fire performance; cleaner color match to metal fascia/gutters.
- Vinyl: Lower material cost; widely available; acceptable for low-heat exposures and budget installs.
Best choice: Use Vented Aluminum Double 6" V-Groove where you need Soffit-line intake ventilation to balance a ridge vent and meet code. Choose Solid Aluminum for porch ceilings, returns, or segments where intake is handled by other venting methods.
Frequently Asked Questions
This is a general guide only and may not address your specific site conditions. If you are not experienced with this type of work, hire a qualified contractor.
How much vent area do these panels provide?
Check the required NFVA rating and install enough linear feet to meet your local code. Balance soffit intake with ridge or other exhaust.
Can I mix vented and solid panels on the same house?
Yes. Use vented where intake is required (typical eaves) and solid on porch ceilings, returns, or aesthetics-only areas. Maintain continuous intake where required by code.
How do I prevent insulation from blocking the vents?
Install insulation baffles at each rafter bay to keep a clear air path from the soffit into the attic.
What fasteners should I use?
Aluminum trim nails or stainless pan-head screws long enough to penetrate framing at least 3/4 in. Do not overdrive.
Can I paint vented soffit?
It is not recommended. Paint can reduce airflow by clogging perforations. If repainting is unavoidable, mask perforations and use light coats away from the holes.
Submit an RFQ or Questions
Please feel free to contact us - we promise to respond to your inquiry within the next business day. For longer requests, visit our RFQ page.


